TheMommyhood.com brings you some simple sewing instructions. How do you sew on a button? Once you know how to sew a button on, you will think it is easy!
You will need
- Needle
- Thread
- Button
- Garment that requires a button
- A thimble (only if your garment fabric is particularly thick).
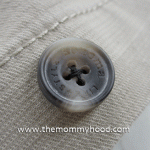
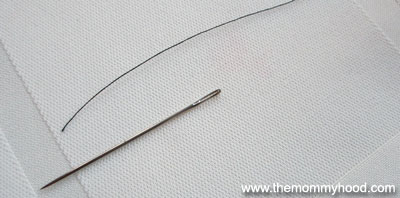
Select a Needle. Needles come in all shapes and sizes. Get a variety pack. Look at the needles in your varietypack. You will notice some are thicker, and the thicker ones usually have larger eye holes to hold weightier thread.
Consider the garment when selecting a needle. For example, if you are sewing a button onto a pair of jean shorts, then perhaps you need a slightly thicker needle and thread. If you are sewing a button onto a man’s dress shirt, you can use a medium to smaller needle.
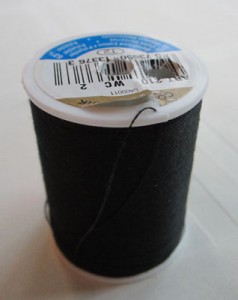
Select a Thread. Ideally, your thread will match the color used on other buttons on the garment. If you aren’t sure or this is the only button, just pick something that won’t contrast too much. For example, don’t sew a white button on a white shirt with black thread – choose white. Also, threads come in lots of thicknesses. Look for a general purpose thread.
Thread the Needle. To get the thread started from a new spool, look at the top of the spool. There is usually a diagonal slit in the top of the plastic edge which holds the end of the thread. Take the sticker off if you need to or lift it up to get it started.
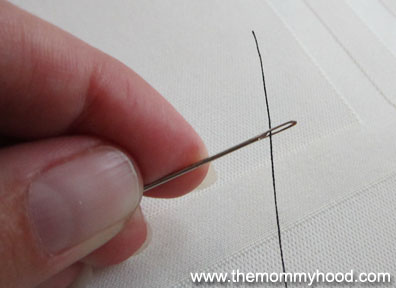
Cut the end of the thread so you have a nice clean strong edge. Leaving the thread attached to the spool, put the end of the thread through the needle. Pull through about 12 to 15 inches of thread and fold that in half against the length still attached to the spool. Cut the thread. (So you should have about 24 to 30” of thread with the needle in the middle.
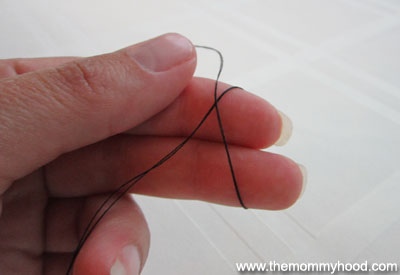
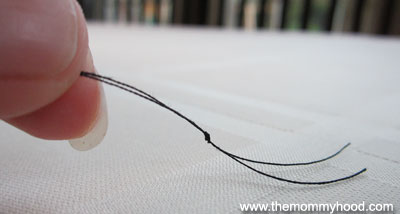
Tie a Knot in the Thread.
Hold both ends of the thread together and wrap them around your pointer and middle fingers and pull it though to tie a knot towards the end of the string.
Sew on a Button
Place the button in the desired location. You can usually see holes where the button had previously been attached. If not, hold it where you think it goes and pretend it is attached and eyeball it to test the location.
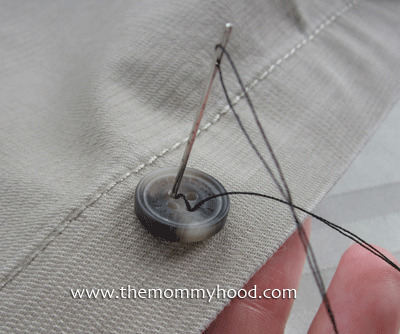
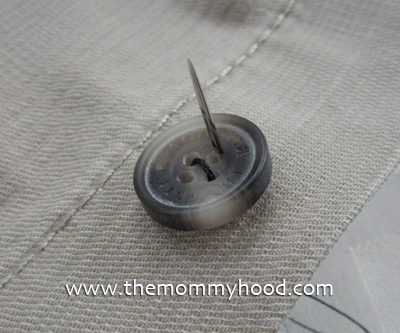
Hold your button in place and start from the backside of the garment and push the needle upwards through a button hole. You can adjust the button placement as you do this if you need to. Then select a different button hole and go back down through the fabric to the back side again.
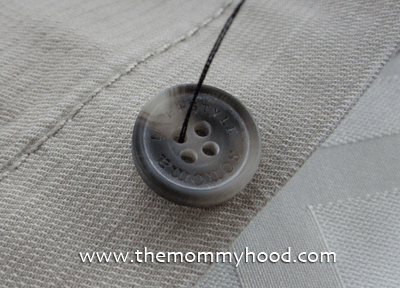
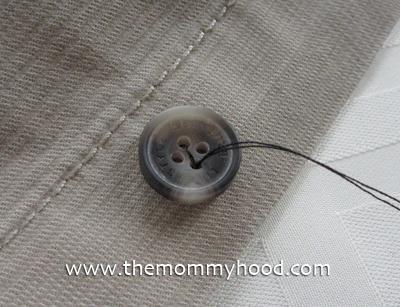
If you are working with a thick fabric, this is when you might want a thimble to help push the needle through.
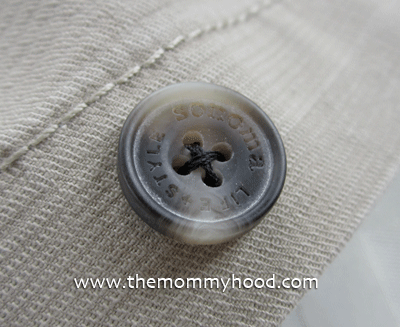
When it comes to deciding how to the stitches will look in a button with four holes, mimic the other buttons on the garment or decide on your own pattern. You can do an x or two straight lines.
You will notice the button gets more and more secure on the garment as you add stitches.
Finishing Up
Once the button is secure, make sure to end with the needle and thread through the fabric on the backside. With the needle still attached to the backside of the garment, carefully tie a knot as mentioned above, and do your best to secure the knot down at the very end of the string where it is attached to the garment. You can tie several knots if the first one isn’t that close to the fabric.
Then cut it off, put your needle somewhere safe and you are good to go!






No comments yet.